Parquet flooring is stylish and durable for many homes and commercial spaces. However, over time, wear and tear, water damage, or simply a desire to update the flooring can make removal necessary. While the process may seem straightforward, parquet flooring is often glued down with strong adhesive, making it challenging. If not done correctly, removing it can damage the underlying concrete.
This guide will walk you through safely and efficiently removing parquet flooring from concrete. Whether you’re a DIY enthusiast or planning to hire professionals, these step-by-step instructions will help you avoid common pitfalls and ensure a smooth transition to new flooring.
Before beginning the removal process, ensure you have the right tools and materials. The correct equipment will make the job easier and minimise the risk of damaging the concrete underneath.
Proper preparation can save time and reduce mess. Follow these steps before beginning the removal:

If tiles are firmly adhered, use one of the following methods:
After removing the tiles, leftover adhesive can make the floor uneven and unsuitable for new flooring. To remove it:

Once the parquet and adhesive are removed, prepare the concrete for new flooring:
Check for damage: Inspect the concrete for cracks or uneven surfaces. If cracks are present, consider using a concrete patching compound to fill them in and ensure a level surface. A thorough inspection will help avoid future flooding issues.
Sand rough patches: A grinder or sander smooths the surface. Pay special attention to any raised edges or uneven areas that could interfere with installing new flooring. A smooth surface will ensure better adhesion for your next flooring choice.
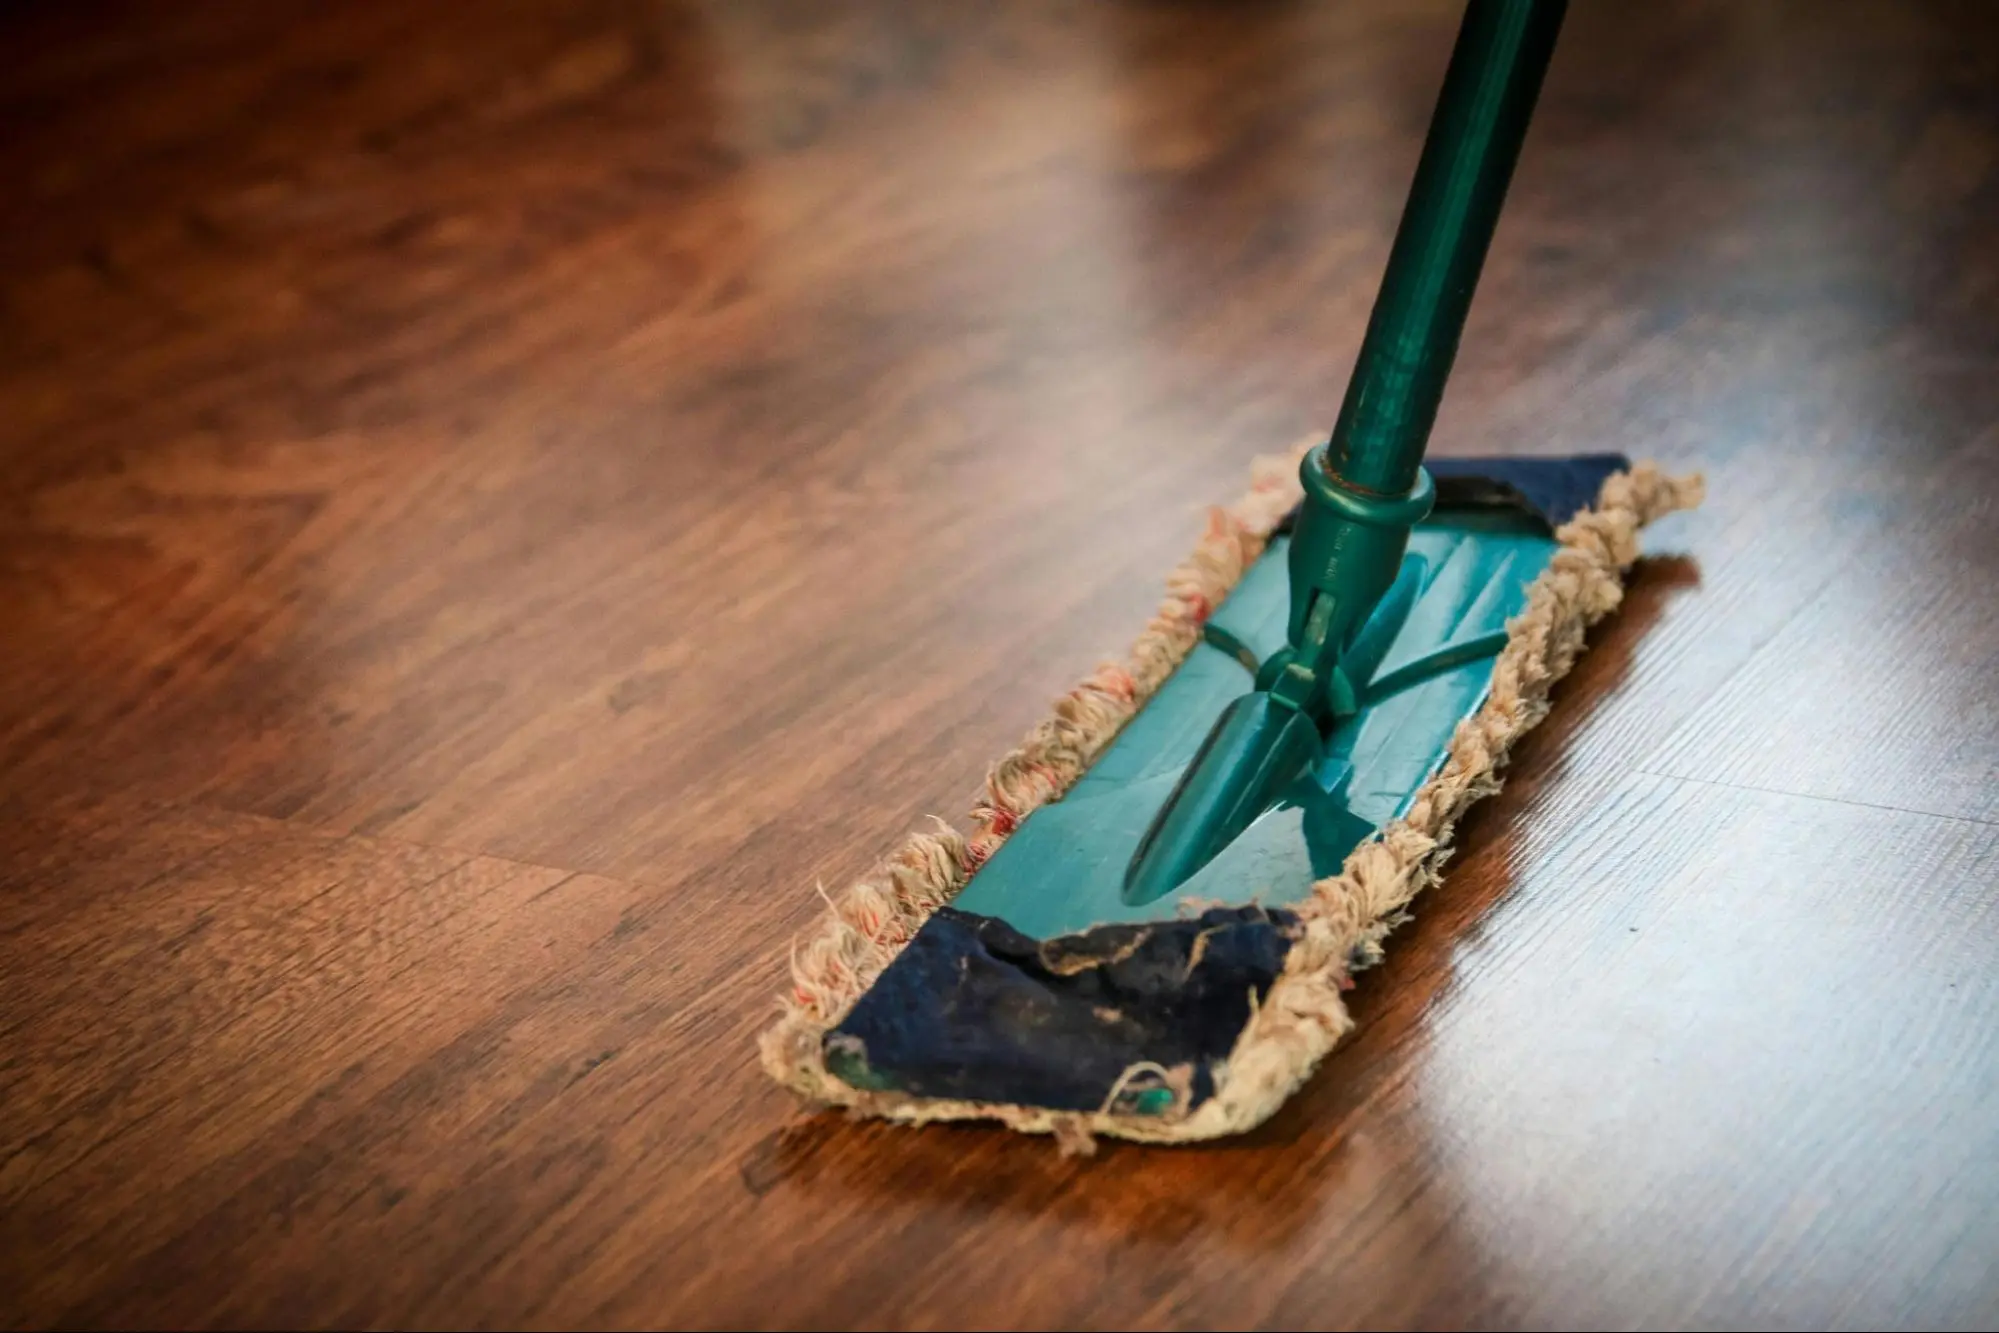
Remove all debris: Vacuum or sweep the area thoroughly to ensure a clean foundation for the next flooring installation. Follow up with a damp mop to capture fine dust particles that could affect adhesion or cause imperfections in the new floor.
After successfully removing your parquet flooring, consider these alternatives:
Engineered Wood Flooring: A durable, stylish option that offers a similar aesthetic to parquet but with modern benefits like improved moisture resistance, easier maintenance, and a longer lifespan.
Luxury Vinyl Planks: A budget-friendly, waterproof option that mimics real wood while being easy to install. It’s ideal for high-moisture areas like kitchens and bathrooms, providing durability and aesthetic appeal.
Polished Concrete: A minimalist, industrial-style finish that is low-maintenance and long-lasting. It enhances the modern look of a space and can be customised with different stains and finishes for a unique design.

Avoid these pitfalls to ensure a smooth removal process:
Skipping safety precautions: Always wear gloves, safety glasses, and a dust mask. Proper safety measures prevent injuries from sharp tools and exposure to dust and chemicals.
Using excessive force: Prying too aggressively can chip or crack the concrete. Work methodically to avoid damaging the subfloor, which could lead to costly repairs.
Not removing adhesive properly: Failing to clean the adhesive residue can make installing new flooring difficult. Ensure the surface is fully prepped before laying new flooring to achieve a professional finish.
Removing parquet flooring from concrete can be challenging, but it’s a manageable DIY project with the right tools and techniques. Following this step-by-step guide, you can ensure a smooth, damage-free removal process and prepare your space for a beautiful new floor.
If you’re seeking high-quality parquet flooring options and expert advice, The Flooring Masters is here to help. Explore our premium parquet wood flooring range and get started on your next home improvement project.

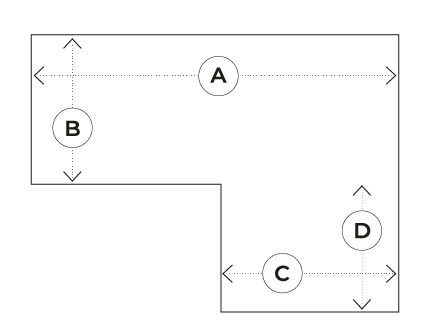
Example One: Rectangle Rooms
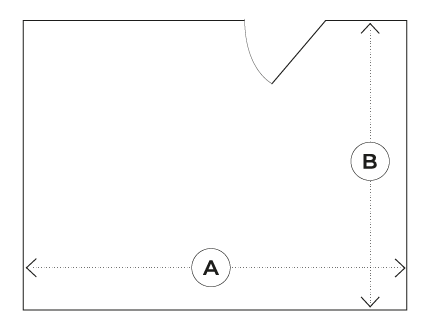
Example Two: Odd Shaped Rooms