How to Lay Solid Wood Flooring: A Step-by-Step DIY Guide

how to lay solid wood flooring

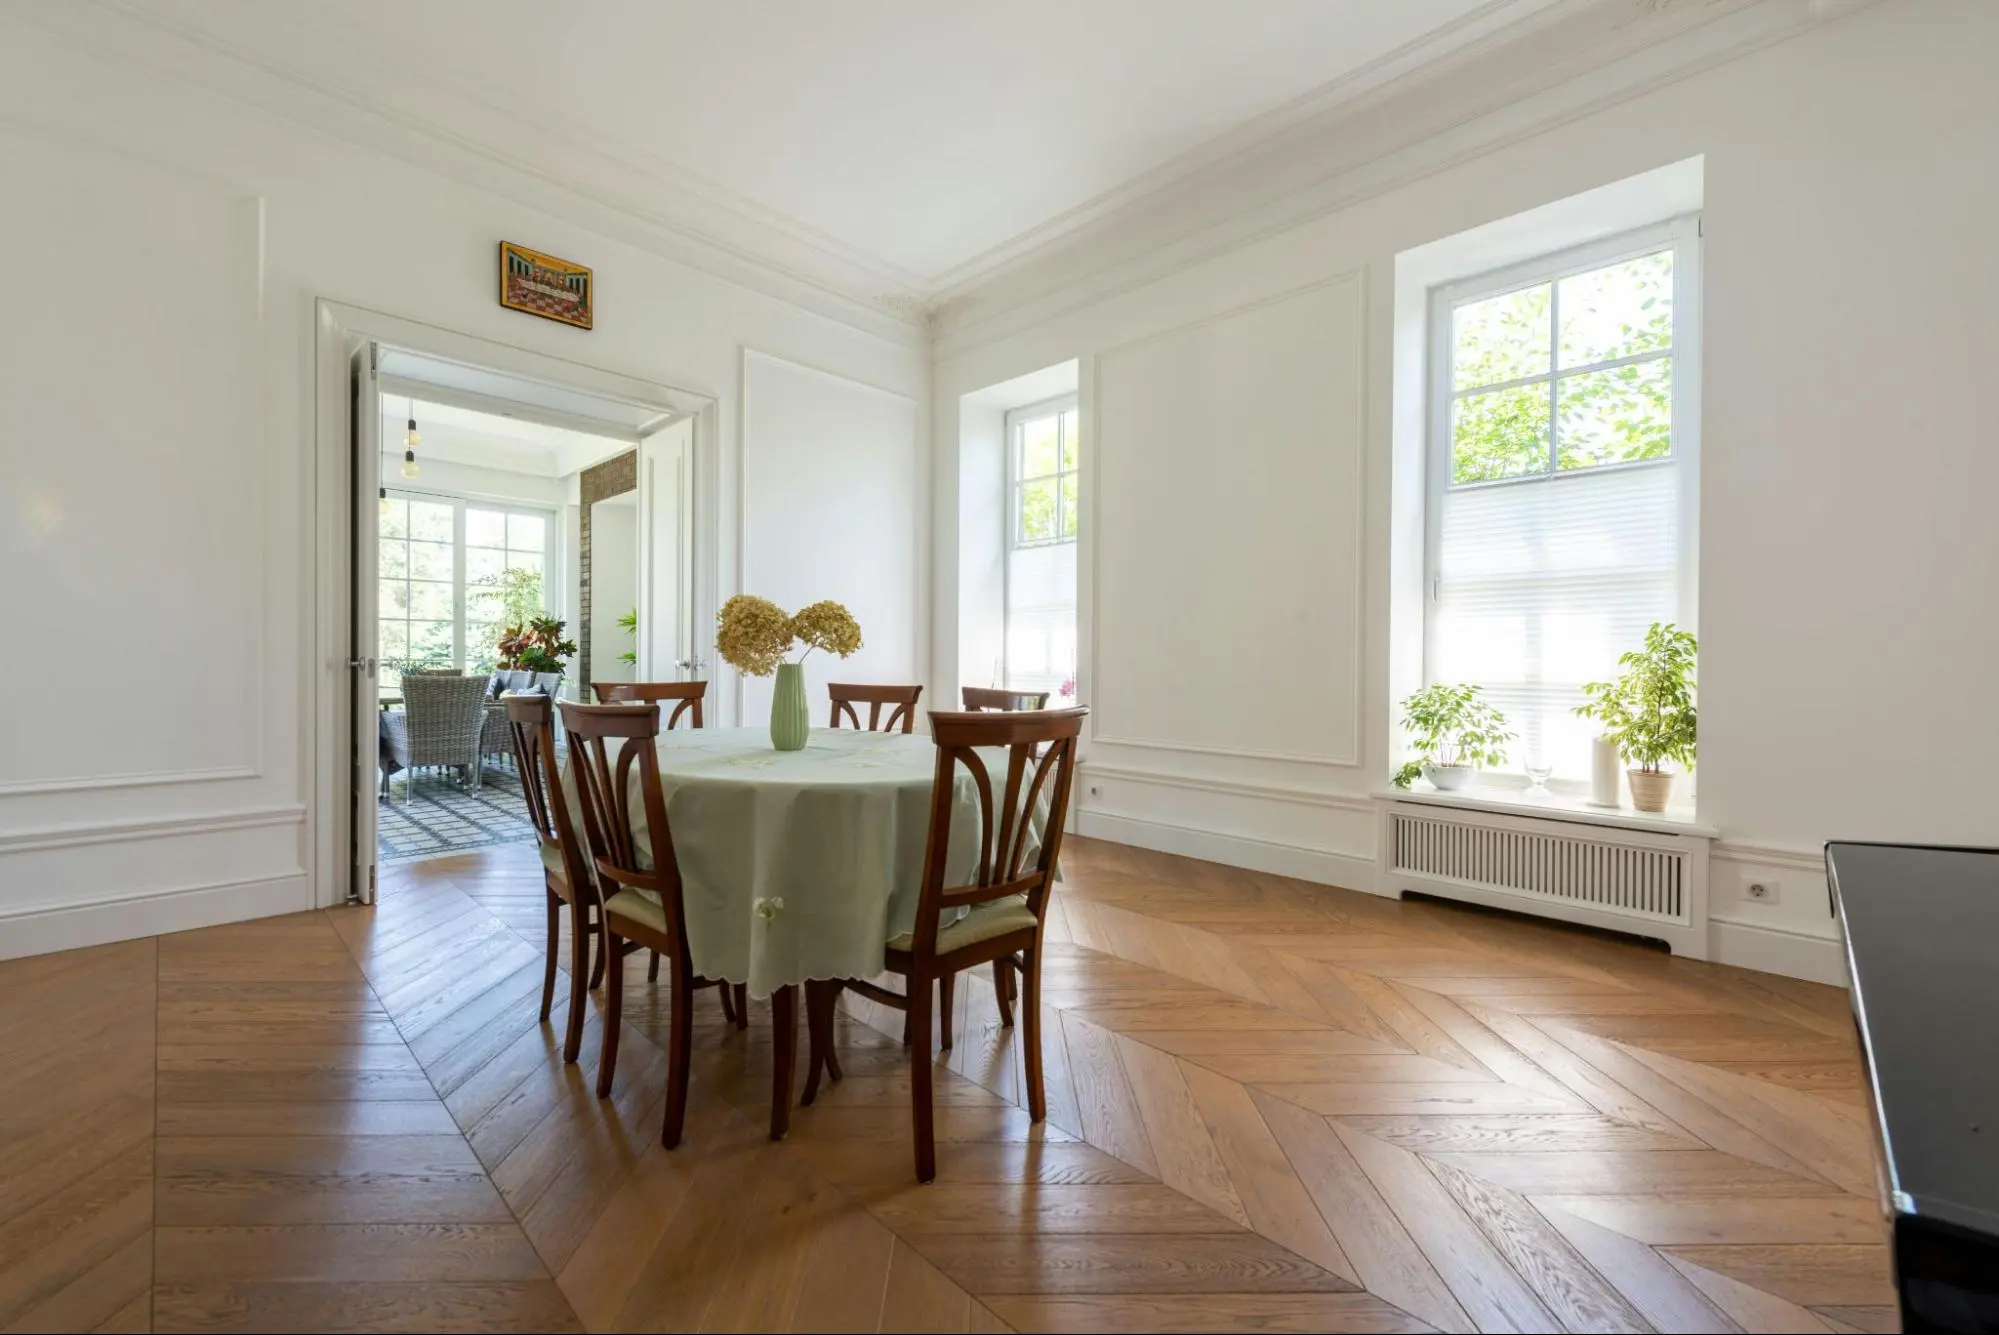
Solid wood flooring adds warmth, elegance, and durability to any home. Known for its timeless appeal and longevity, solid wood flooring is a popular choice among homeowners looking for a high-quality flooring solution. However, proper installation is the key to maximising your investment.

Incorrect installation can lead to uneven boards, gaps, or even warping over time. This guide will walk you through the essential steps to ensure your solid wood flooring is laid correctly, avoiding common mistakes and achieving a professional finish.

Preparation is Key

Check and Prepare the Subfloor

Before laying solid wood flooring, it is crucial to prepare the subfloor properly. The subfloor should be level, dry, and clean to prevent creaking or movement after installation.

  • For concrete subfloors: Use a moisture meter to check the moisture levels. Excess moisture can cause wood to expand and warp.
  • For wooden subfloors: Ensure all boards are securely fastened and free from damage. If necessary, sand down any high spots and fill in low areas.

Acclimatise Your Flooring

Wood is a natural material that expands and contracts based on humidity and temperature. To prevent movement after installation, acclimatise your solid wood flooring before fitting.

  • Stack the planks in the room where they will be installed.
  • Leave them for 5-7 days to adjust to the room’s climate.

Gather Your Tools & Materials

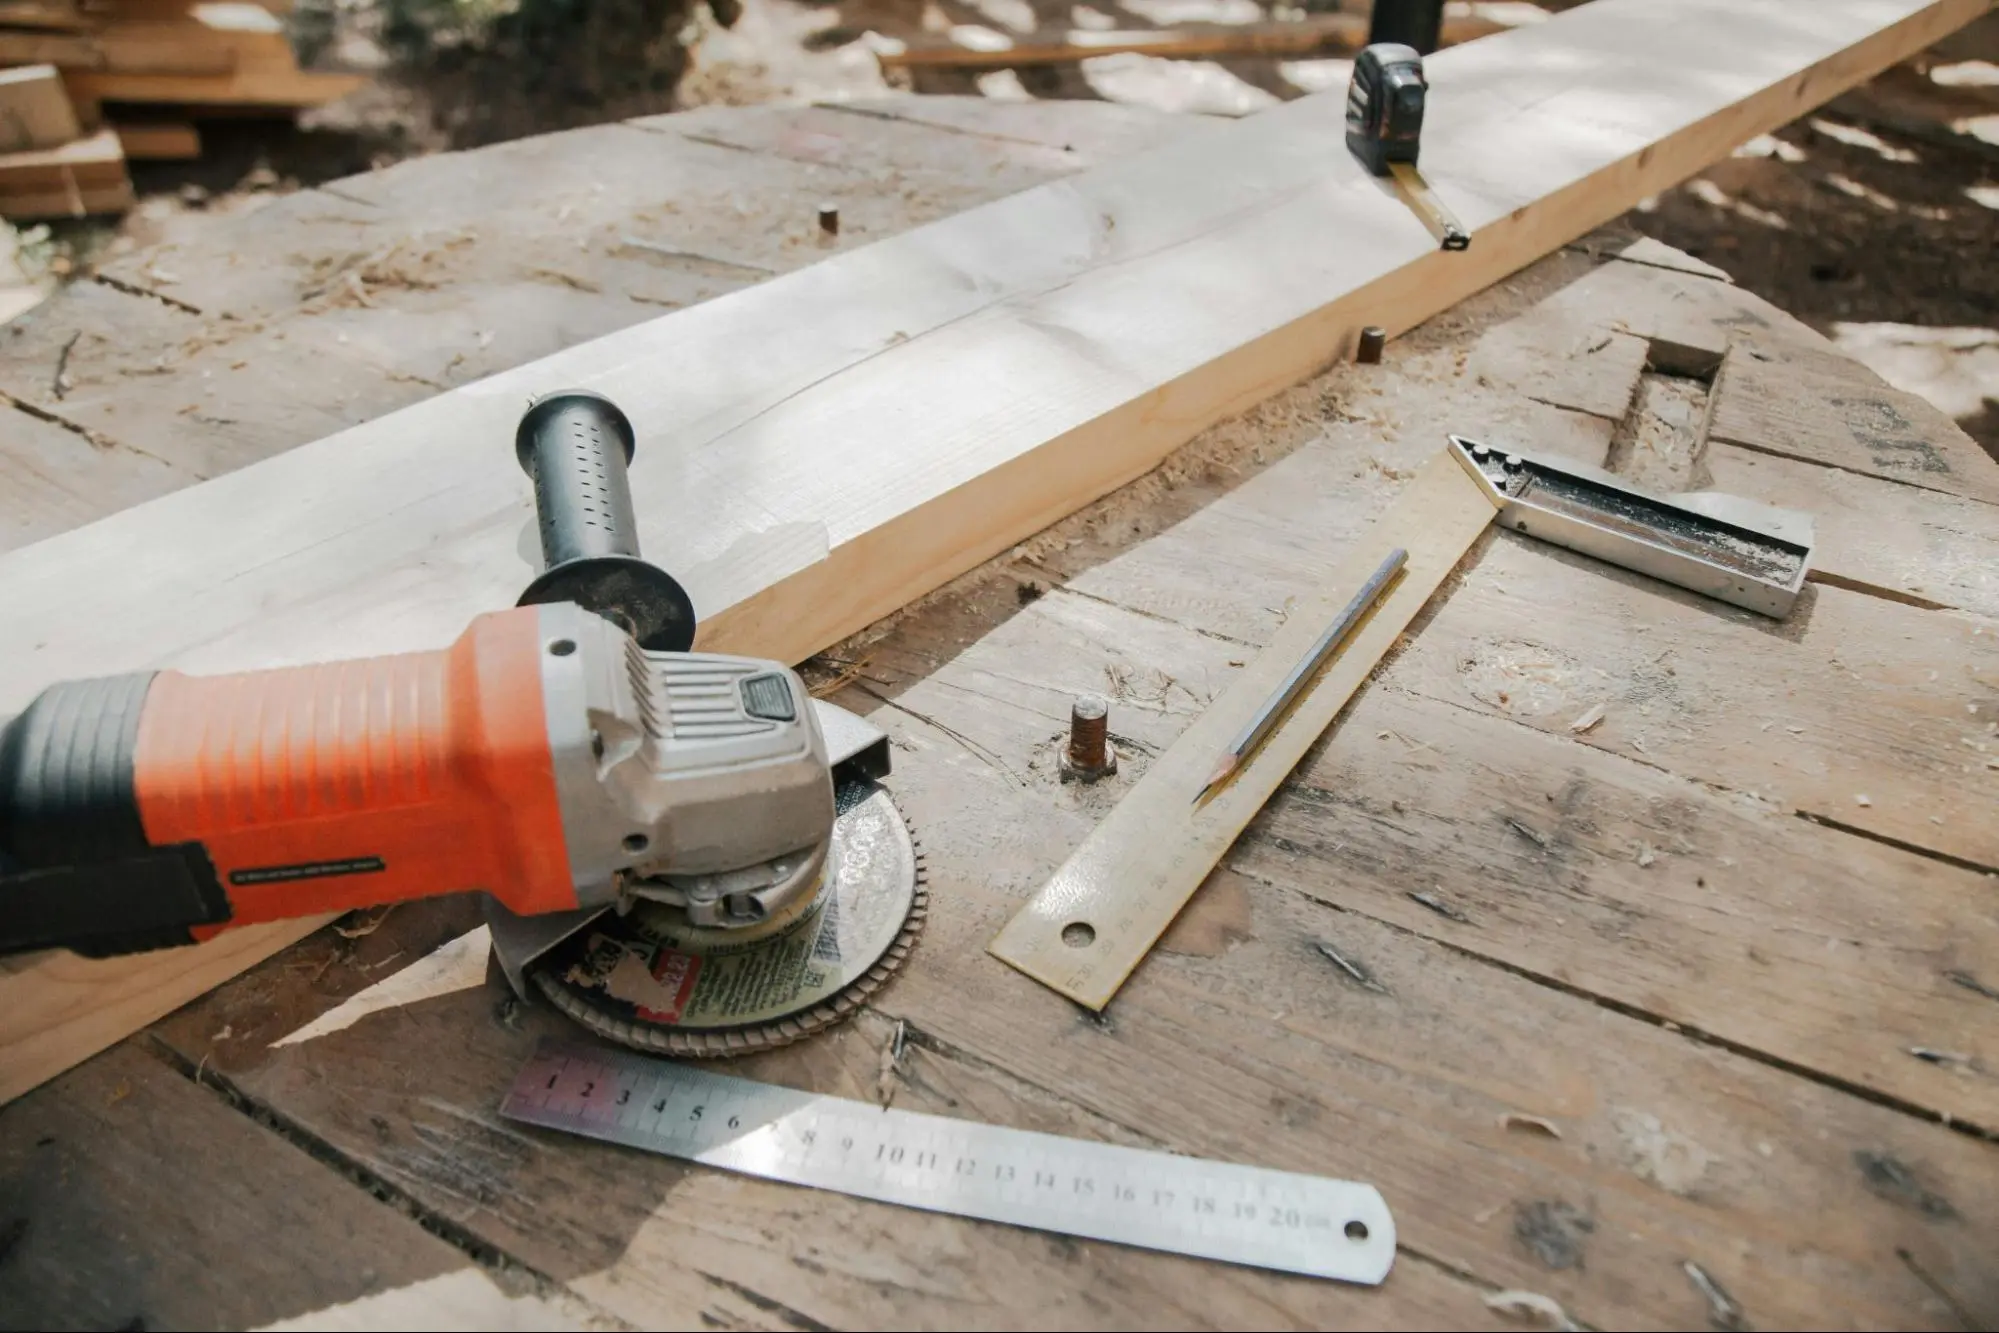
Having the right tools and materials on hand will make the installation process smoother. Ensure you have:

  • Underlay (if required)
  • Adhesive (for glue-down installation)
  • Flooring nails (for nail-down installation)
  • Spacers
  • Measuring tape
  • Saw (for cutting planks)
  • Spirit level
  • Chalk line for marking layout
  • Hammer and tapping block
how to lay solid wood flooring

Laying the First Rows: The Foundation of Success

Choosing an Installation Method

There are three primary methods for installing solid wood flooring:

  • Nail-down – Best for wooden subfloors; provides a secure, long-lasting fit.
  • Glue-down – Ideal for concrete subfloors; creates a strong bond with the surface.
  • Floating – Less common for solid wood but possible with the right click-lock system.

Measuring and Planning Layout

Plan the layout before installation to avoid narrow planks at the edges. To achieve a natural, balanced look:

  • Start from one wall and work your way across the room.
  • Stagger the joints of the boards for a more seamless appearance.
  • Use a chalk line to ensure straight rows.

Leaving an Expansion Gap

Solid wood expands and contracts with temperature changes, so leaving an expansion gap is essential.

  • Leave 10-15mm around the perimeter of the room.
  • Use spacers between the boards and walls to maintain the gap.

Installing the Floor Step by Step

Step 1: Laying the First Row

  • Choose the straightest planks for the first row.
  • Place the boards with the tongue facing the wall.
  • Secure them using the chosen method (nails, adhesive, or floating system).

Step 2: Installing Subsequent Rows

  • Stagger the joints by at least 150mm to create a stable structure.
  • Use a tapping block to fit the planks snugly together.
  • Check alignment regularly with a spirit level.
how to lay solid wood flooring

Step 3: Cutting and Fitting Around Obstacles

  • Measure carefully and cut planks using a saw for a precise fit.
  • For door frames, undercut the architrave so the planks can slide underneath for a clean look.
  • Use offcuts where possible to reduce waste.

Step 4: Finishing the Last Row

  • Measure and cut the final row to fit against the wall.
  • Ensure planks are snug but not forced into place.
how to lay solid wood flooring

Post-Installation Finishing Touches

Securing the Edges & Trims

To complete the installation and give the flooring a polished appearance:

  • Install skirting boards or beading to cover the expansion gap.
  • Secure trims with adhesive or small nails, avoiding direct fixing to the floor.

Cleaning and Checking for Gaps

  • Remove spacers used for expansion gaps.
  • Sweep or vacuum the floor to remove any dust or debris.
  • Inspect for any loose boards or gaps and make adjustments as needed.

Common Mistakes to Avoid

  • Over-tightening planks: This can prevent natural expansion and cause buckling.
  • Skipping the expansion gap: Boards may warp or lift over time without this.
  • Poor subfloor preparation: An uneven or damp subfloor can lead to structural problems.

Maintaining Your Solid Wood Flooring

Cleaning & Care Tips

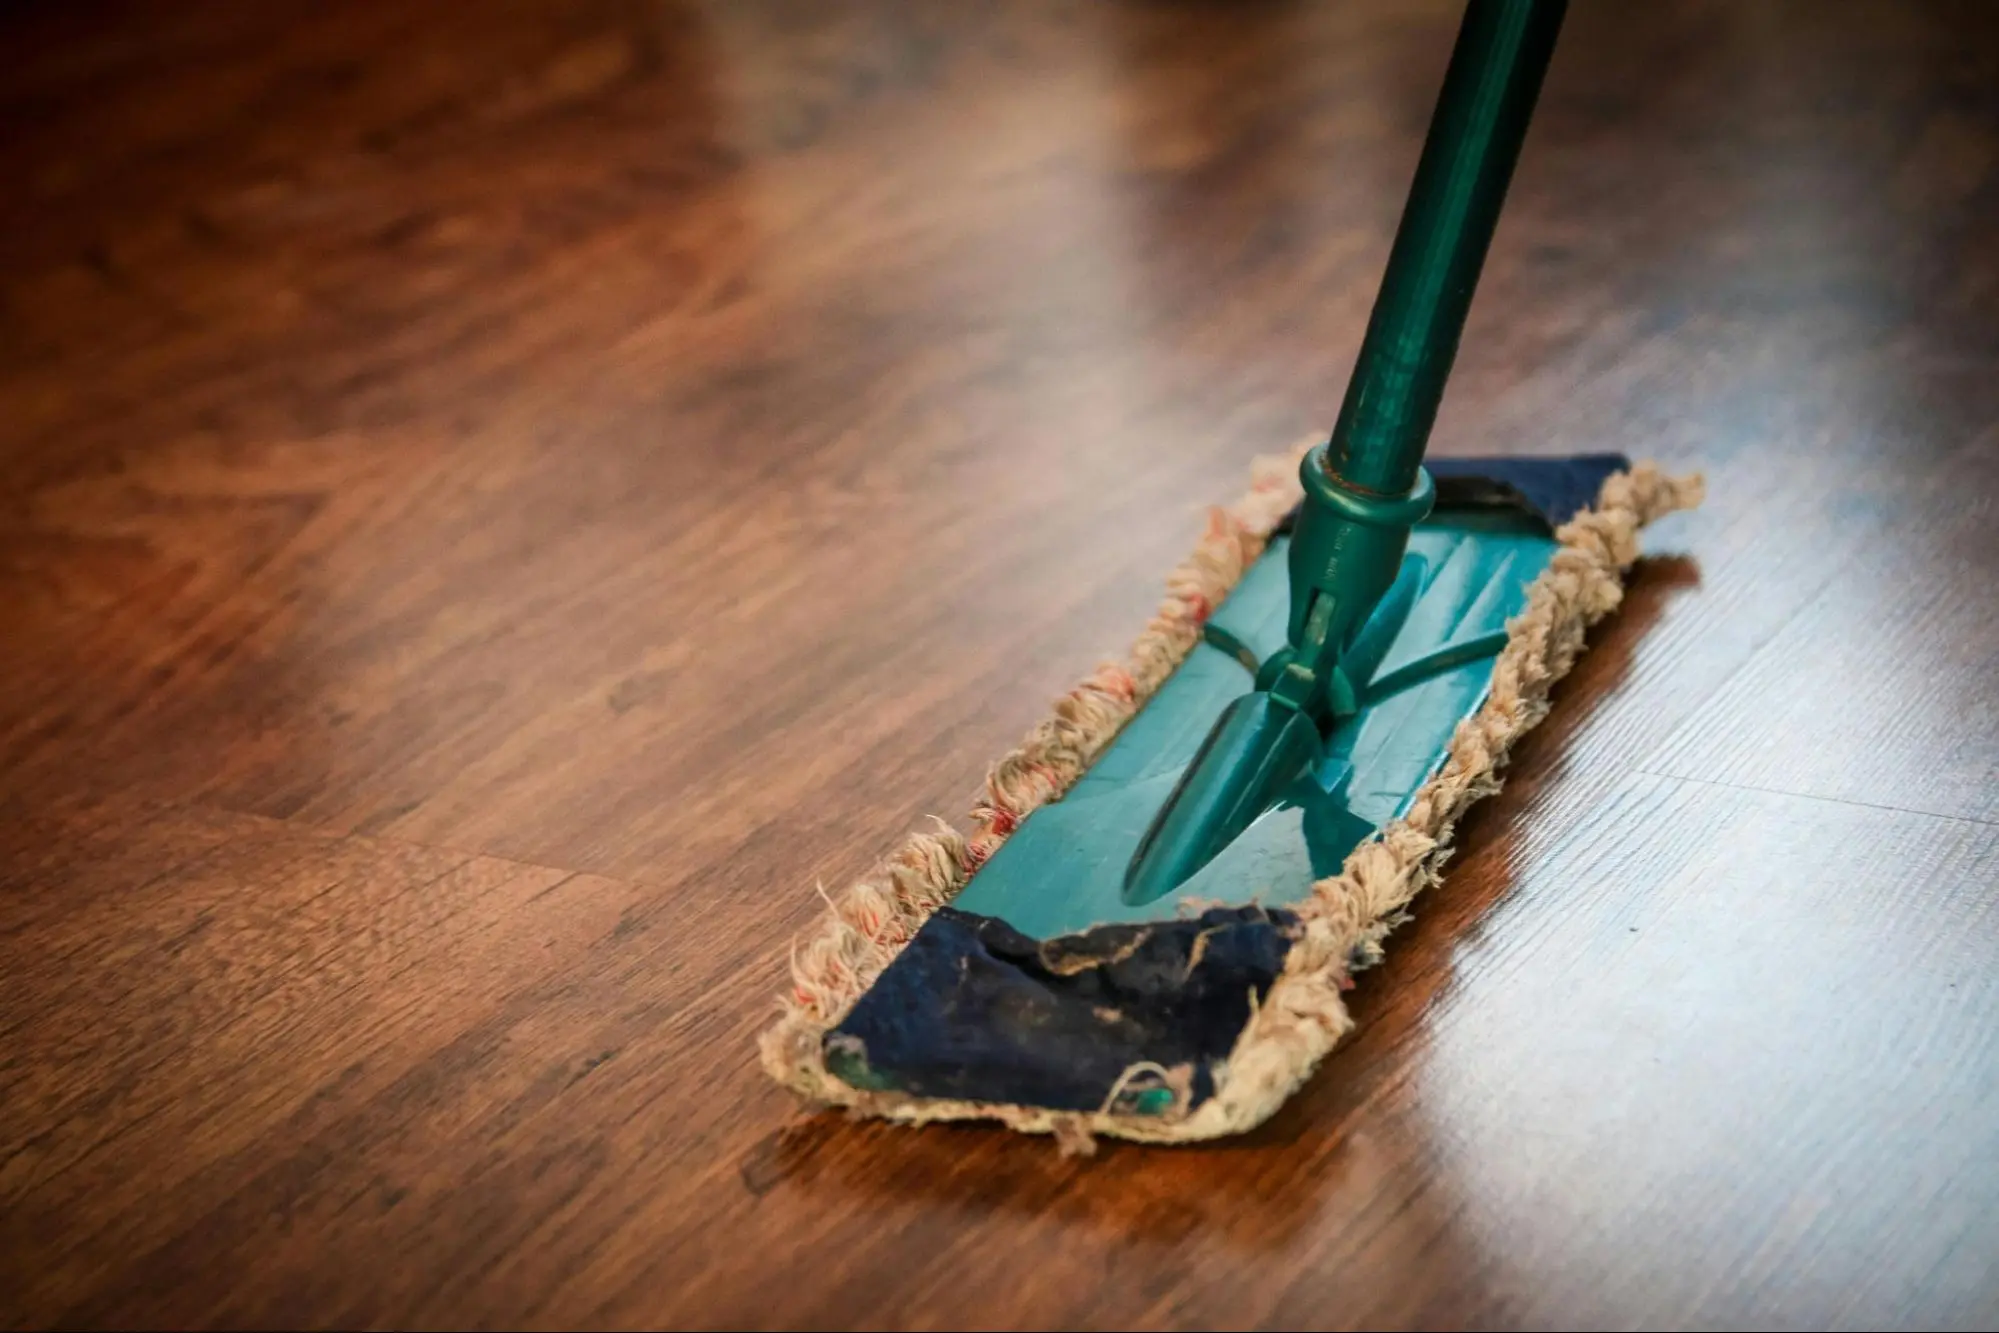
  • Use a dry or slightly damp mop – avoid excessive moisture.
  • Choose pH-neutral wood floor cleaners to prevent damage.
  • Sweep or vacuum regularly to remove dirt and debris.

Preventing Damage

  • Use furniture pads to prevent scratches.
  • Place mats at entrances to reduce dirt and moisture.
  • Avoid wearing high heels or dragging heavy furniture across the floor.

Conclusion: A Floor That Lasts a Lifetime

Installing solid wood flooring requires patience and precision, but you can achieve a professional-quality finish with the right approach. Proper preparation, the correct installation method, and post-installation care will ensure your floor remains beautiful and durable for years.

Discover premium solid wood flooring and expert guidance at The Flooring Masters. Order a free sample today and get personalised advice to kickstart your flooring project!

MORE ARTICLES

  • Mon - Fri: 9am - 7pm

    Sat: 9am - 5pm

    Sunday: closed

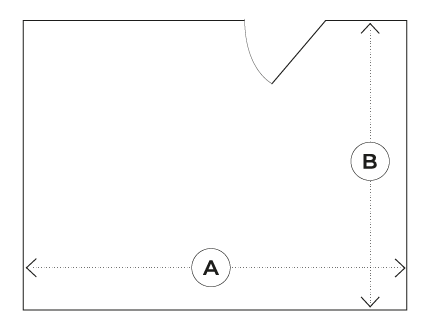
    How to measure my room

    Example One: Rectangle Rooms

    Example Two: Odd Shaped Rooms
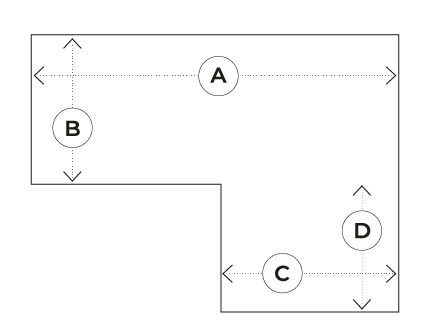
    Don't forget to add an extra 10%
    to the total area(m2) to account for any wastage