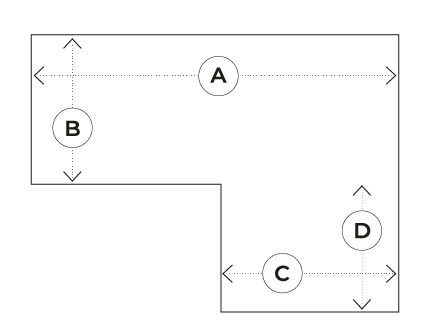
Engineered wood flooring has become a preferred choice for homeowners and renovators due to its aesthetic appeal, durability, and ease of installation. Unlike solid hardwood, engineered wood flooring is constructed with multiple layers, making it more stable and resistant to changes in humidity and temperature. Proper preparation and installation techniques are essential to ensure longevity and performance when installing engineered wood flooring over a wood subfloor.
A well-executed installation enhances the beauty of your space and extends the life of your flooring. This guide will walk you through each step, from preparing the subfloor to choosing the correct installation method, along with essential tools, step-by-step instructions, and post-installation care.
Subfloor preparation is one of the most crucial yet often overlooked steps in the installation process. A well-prepared subfloor ensures a smooth surface that helps prevent issues such as squeaking, warping, or shifting over time.
Before installing your flooring, check the subfloor for structural integrity. Ensure there are no signs of damage, excessive moisture, or loose boards. Any imperfections in the subfloor can affect the final appearance and stability of your engineered wood flooring.
Once inspected, clean the subfloor thoroughly to remove dust, dirt, and debris. Sand down high spots and fill low areas with a levelling compound to create an even surface.

Excess moisture can cause engineered wood planks to expand or contract, leading to warping or gaps between boards. It’s essential to measure the moisture level of the subfloor and allow the engineered wood flooring to acclimate to the room’s conditions for at least 48-72 hours.
Engineered wood flooring offers flexibility in installation methods. The best option depends on the subfloor type, room conditions, and experience level. Below are the three standard installation methods:
| Installation Method | Difficulty | Durability | Tools Required |
|---|---|---|---|
| Nail-Down Method | Intermediate | High | Nail gun, nails/staples, underlayment |
| Glue-Down Method | Advanced | Very High | Flooring adhesive, trowel, spacers |
| Floating Floor Method | Easy | Moderate | Underlayment, saw, spacers |

Before installing, gather the necessary tools and materials to ensure a smooth process.
Underlayment provides cushioning, sound reduction, and moisture resistance. It also helps create a more even surface for installation.
Each method requires a different approach. Follow the steps carefully based on your chosen installation method.

Once the flooring is installed, add the final touches to enhance its longevity and appearance.
Regular maintenance includes sweeping, damp mopping, and using furniture pads to prevent scratches.
To ensure a successful installation, be mindful of common mistakes:
Neglecting to inspect, clean, and level the subfloor can lead to an uneven surface, causing the flooring to shift, creak, or wear unevenly over time. Ensure your subfloor is dry, stable, and debris-free before beginning installation.
Engineered wood flooring expands and contracts with temperature and humidity changes. Failing to leave at least a 10mm expansion gap around the room’s perimeter can cause buckling or warping over time, leading to costly repairs.
Different installation methods require specific adhesives, fasteners, and tools. Using the wrong materials can weaken the floor’s stability or damage the planks, resulting in poor adhesion, squeaking, or an uneven finish. Always check the manufacturer’s recommendations before proceeding.
Engineered wood is more moisture-resistant than solid wood but still susceptible to damage in damp conditions. If installed in a basement, kitchen, or bathroom, use a moisture barrier or waterproof underlayment to prevent swelling and deterioration.
Engineered wood flooring is an excellent investment for any home, offering both beauty and durability. Installation can be a rewarding DIY project with the proper preparation and technique.
If you’re looking for high-quality engineered wood flooring, check out The Flooring Masters, where you can find premium flooring options and request free samples to get started.
How long should I let engineered wood flooring acclimate?
Ideally, 48-72 hours in the installation room.
Can I install engineered wood flooring over an uneven subfloor?
Only if the subfloor is levelled correctly beforehand.
What’s the best installation method for a beginner?
The floating floor method is the easiest for DIYers.
Do I need to use underlayment on a wood subfloor?
Yes, it helps with sound reduction and moisture control.

Example One: Rectangle Rooms
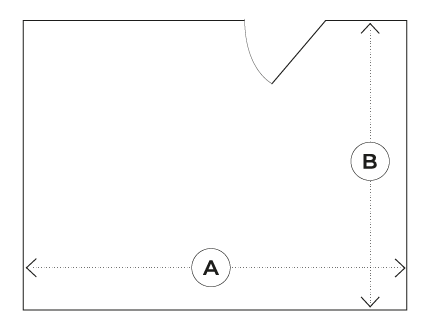
Example Two: Odd Shaped Rooms