Removing engineered wood flooring depends on several factors, including the condition of the floor, your plans for the space, and whether refinishing or repair is a more viable option. This guide is designed for those committed to removing their engineered wood flooring and need a clear, step-by-step breakdown of the process. It will help you evaluate whether to take on the project as a DIY effort or hire a professional for efficiency and expertise.
Before you remove engineered wood flooring, ensure you have the right tools and safety gear. The correct tools will make the job easier, while safety gear protects you from injury. Both are essential for a successful DIY project.
| Tool/Safety Gear | Purpose | Rental Cost | Purchase Cost |
|---|---|---|---|
| Pry Bar | For prying up boards | £5/day | £15–£20 |
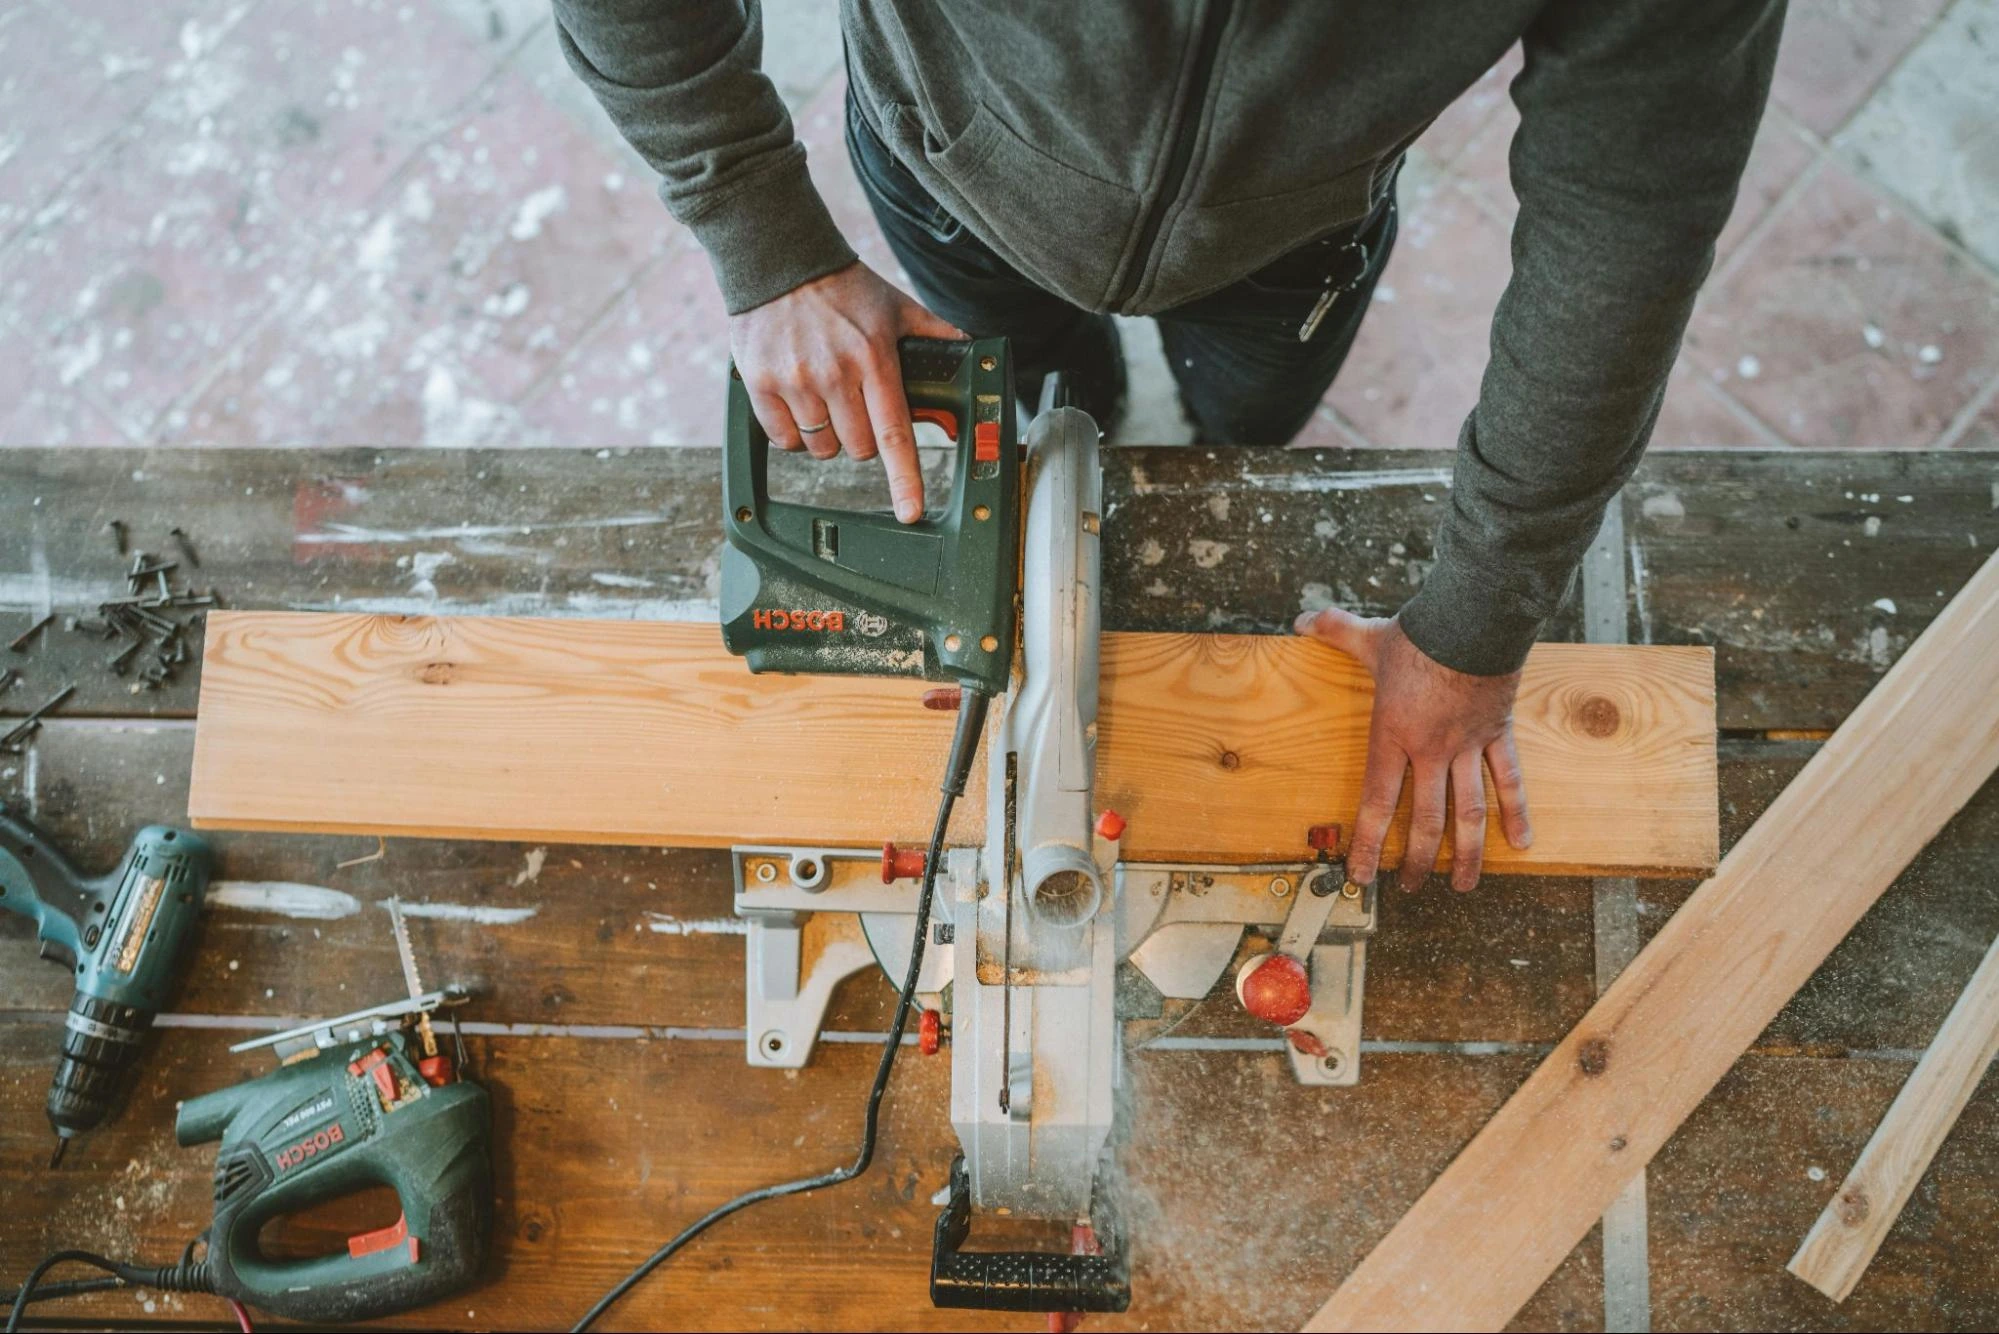
| Circular Saw | To cut boards for glued-down floors | £10/day | £60–£100 |
| Scraper/Power Scraper | Removing adhesive and residue | £8/day | £50–£80 |
| Respiratory Mask | Protect against dust/adhesives | £2–£5 | £15–£30 |
| Goggles & Gloves | Eye and hand protection | - | £10–£20 |
Skipping proper safety gear can result in injuries, particularly when working with tools like circular saws and scrapers. Make sure you’re prepared.
The installation method of your engineered wood flooring dictates how challenging the removal process will be. Floating floors are much easier to remove than glued-down ones. Here’s a quick comparison:
| Type | Description | Ease Of Removal | Tools Required |
|---|---|---|---|
| Floating | Boards interlock and float on top of the subfloor | Easy | Pry bar, handsaw, mallet |
| Glues-Down | Adhered directly to the subfloor using adhesives | Difficult | Circular saw, scraper, adhesive remover |
Knowing your floor type will help you plan the time, tools, and effort needed for removal.

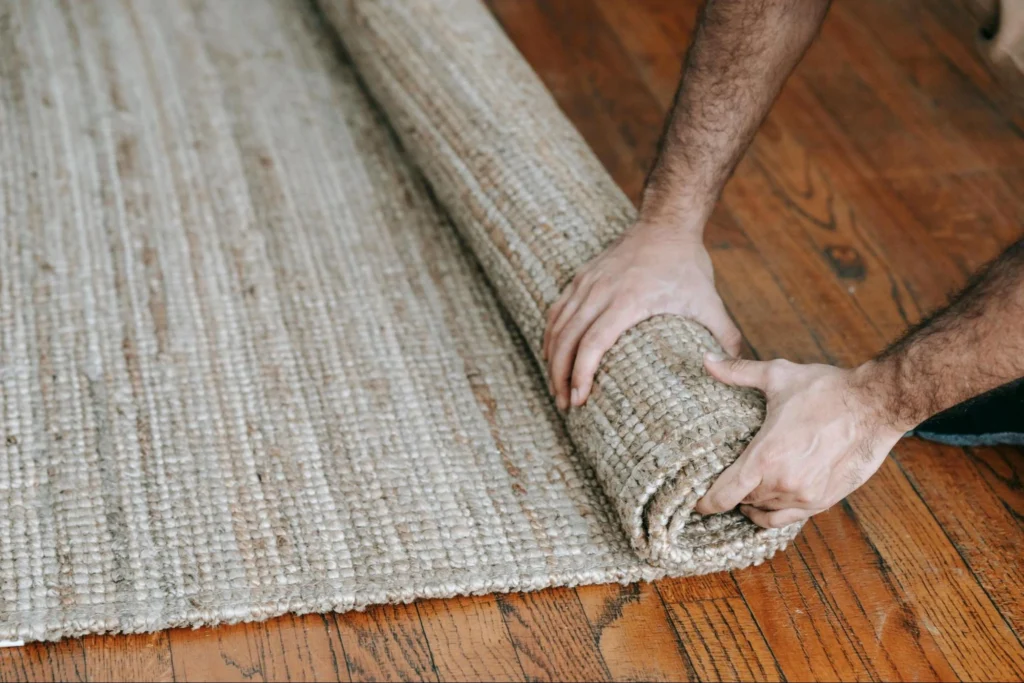
Clear the Space: Remove all furniture and items from the room.
Turn Off Power to the Room: If there are any electrical outlets near the floor, shut off the power to avoid accidents.
Remove Baseboards: Use a pry bar to gently remove the baseboards, which can be reused or replaced after removal.
Locate the First Board: Begin in a corner of the room. Pry up a board that isn’t locked tightly to another, typically along the perimeter of the room.
Use a Pry Bar: Slide the pry bar under the edge of the board and gently lift it. Use a mallet to help if necessary.
Work Across the Room: Once the first board is removed, work methodically across the room. Since floating floors use tongue-and-groove connections, the boards will come apart easily once you begin.
Pry Each Board: Continue prying up boards row by row, being careful not to damage the boards if you plan to reuse them.
Check for Damage: After removing all the boards, inspect the subfloor for damage or debris. If necessary, clean the subfloor to prepare it for new flooring.
Clear the Room: Remove all furniture and items. Glued-down floors are more challenging to remove, so the area should be entirely free of obstacles.
Turn Off Power: For safety, ensure the power to outlets near the floor is switched off.
Remove Baseboards: Use a pry bar to carefully remove baseboards.
Set Circular Saw Depth: Adjust the circular saw to the thickness of the engineered wood flooring (not deeper than the subfloor).
Make Cuts: Cut the floorboards into smaller sections, approximately 1 to 2 feet wide. These cuts make the boards easier to remove.
Insert Pry Bar: After making cuts, use a pry bar to get underneath the boards and pry them up. Some boards may come off in pieces due to the adhesive.
Use a Scraper: A power scraper or handheld scraper is needed to remove the adhesive left on the subfloor. Scrape thoroughly to ensure the surface is clean.
Use Adhesive Remover: For areas where the adhesive is too stubborn, apply a commercial adhesive remover. Follow the product’s instructions to soften the adhesive before scraping it off.
Check for Damage: Once the glued-down boards and adhesive have been removed, check the subfloor for any damage caused by tools or the removal process.
Vacuum and Wipe: Clean the subfloor to ensure it’s ready for new flooring. Use a vacuum to remove debris and wipe down any remaining residue.
Your subfloor type plays a big role in the removal process. Removing flooring from plywood requires more care, while concrete subfloors are tougher but still susceptible to damage from tools.
| Subfloor Type | Removal Approach | Risk of Damage |
|---|---|---|
| Plywood | Use gentle methods to avoid cracking | High |
| Concrete | Can withstand more force, but avoid using excessive pressure | Medium |
Once your floor is removed, disposal is the next big task. Incorrectly disposing of adhesives or wood can have environmental consequences. Be sure to recycle what you can and dispose of adhesives responsibly.
Contact local recycling centres to see if they accept engineered wood. Many wood products can be repurposed or recycled into new materials. If your flooring is in good condition, consider donating it to charity or a local community project that may benefit from reusable flooring. You can also check if your flooring supplier offers a take-back scheme for recycling.
Adhesives can contain harmful chemicals, making them unsuitable for general waste. Do not pour them down drains or throw them in the trash. Instead, take them to a designated hazardous waste disposal facility. Many local councils have special waste collection days for household chemicals and adhesives. You can also inquire about eco-friendly adhesive removers that are biodegradable and safer for disposal.
If you have leftover underlay or padding, consider using it in other projects, such as insulation or for temporary flooring in garages or sheds. For scrap materials, check with local schools or DIY enthusiasts who may be interested in taking them off your hands for creative projects.
Removing engineered wood flooring can be a rewarding yet demanding project, whether you’re upgrading to a new style or simply restoring your space. By following the step-by-step processes for both floating and glued-down floors, you can ensure a smooth removal without damaging your subfloor. Remember to take your time, use the right tools, and address common challenges like adhesive residue and subfloor protection. If you’re unsure or overwhelmed, hiring professionals can save you time and prevent costly mistakes.
Whether you’re looking to replace or repair your engineered wood flooring, The Flooring Masters is here to help. Take the next step in your flooring journey—contact us for expert advice and find the perfect flooring solution for your space.

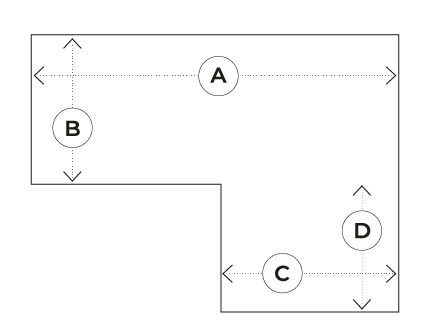
Example One: Rectangle Rooms

Example Two: Odd Shaped Rooms